Patient Document
Patient document consist of essential medical records, treatment plans, and progress notes. These documents track the patient's health history, medications, diagnoses, and care schedules.
Uploading Patient Documents
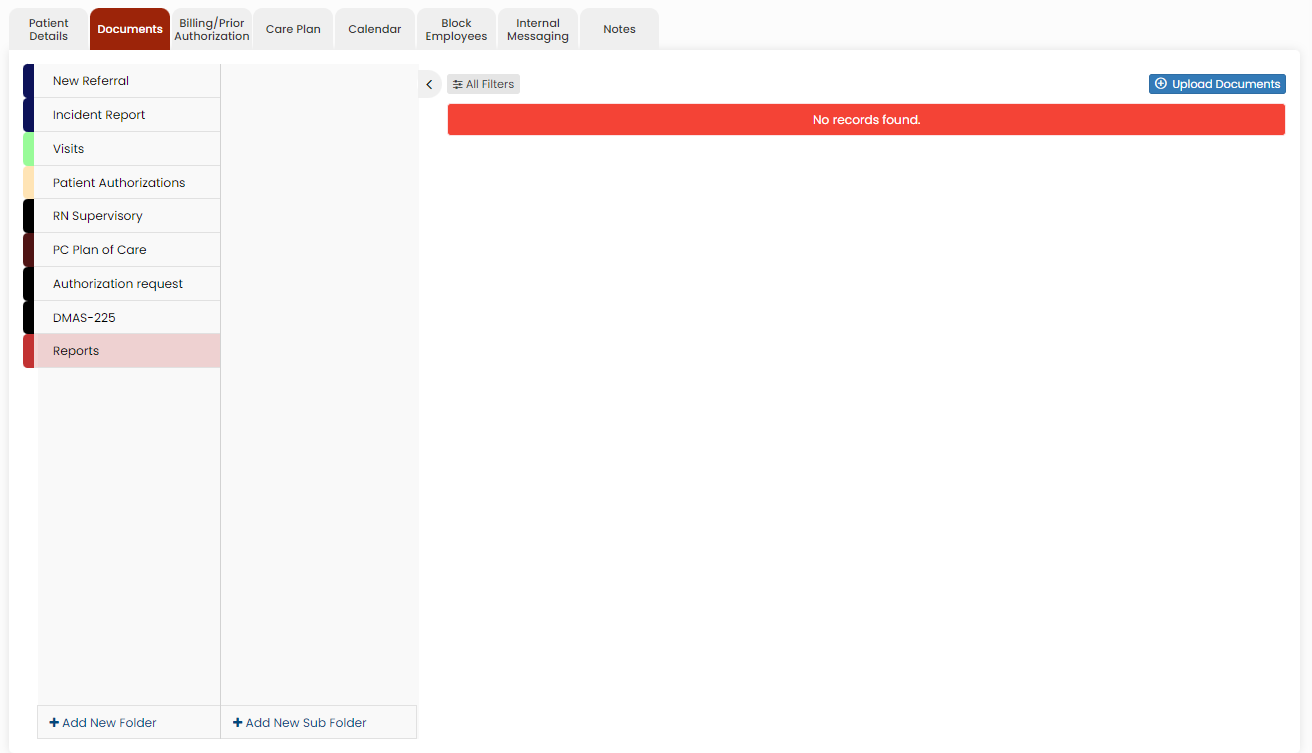
The required documents of the patient can be uploaded in the system by using the option Patient Document.
Client >> List >> Select Patient >> Document
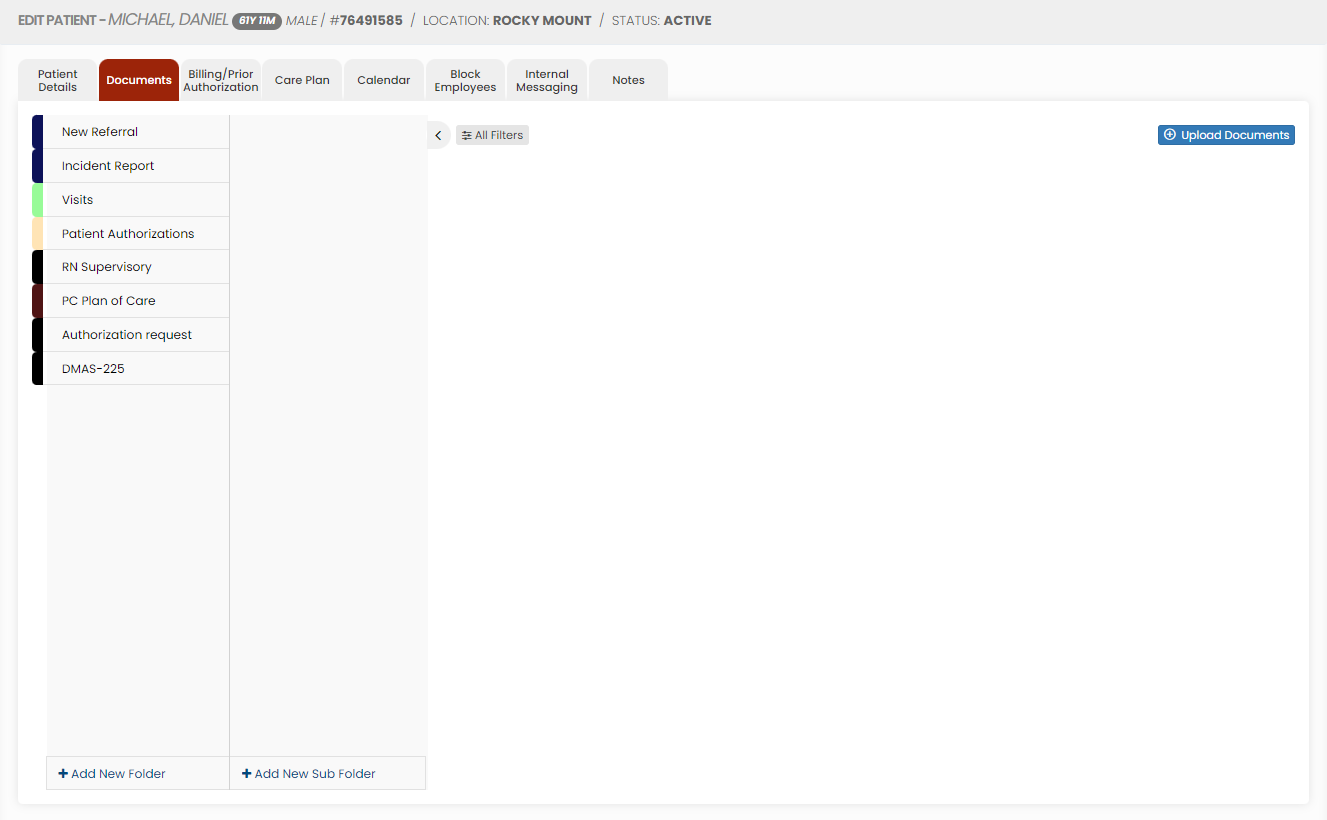
Select the type of document from the list and Click the Upload Documents option. The user can also Add New Folders and Subfolders to upload the documents.
Adding New Folder
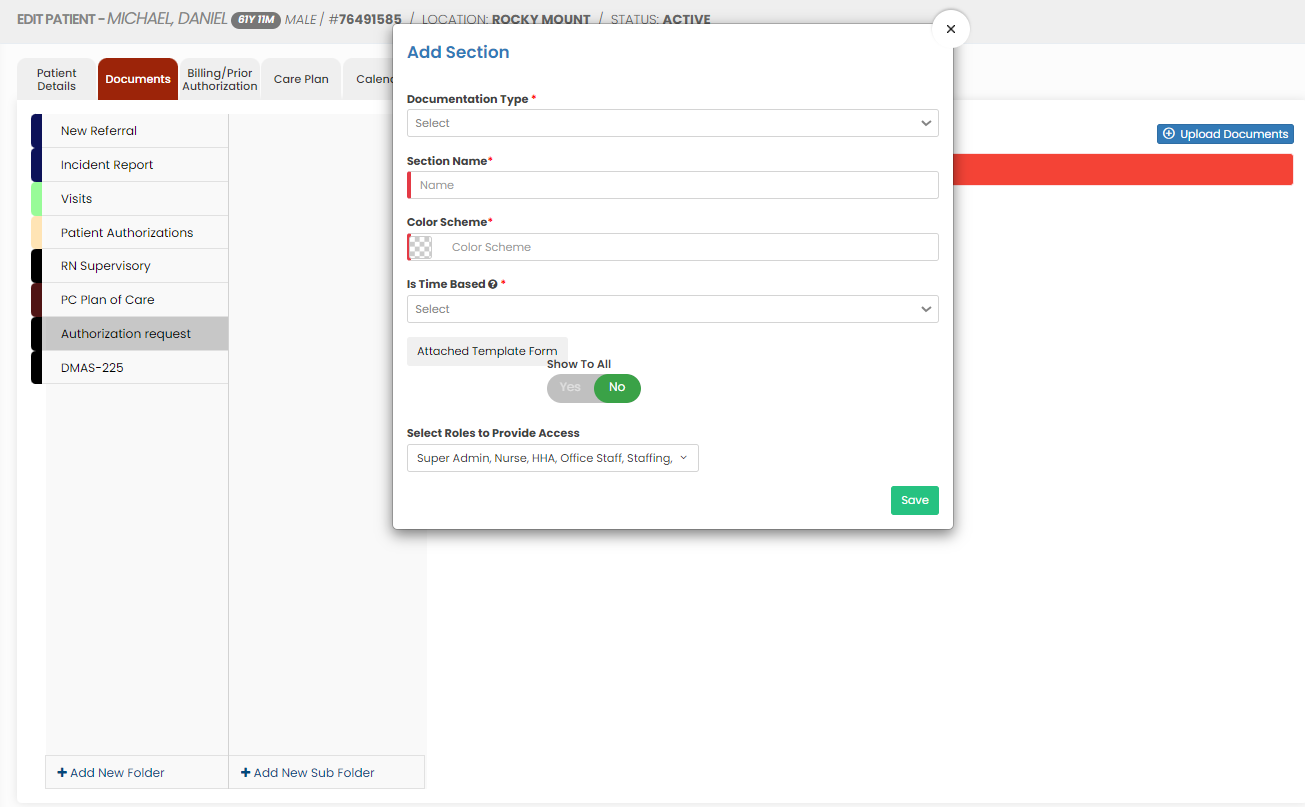
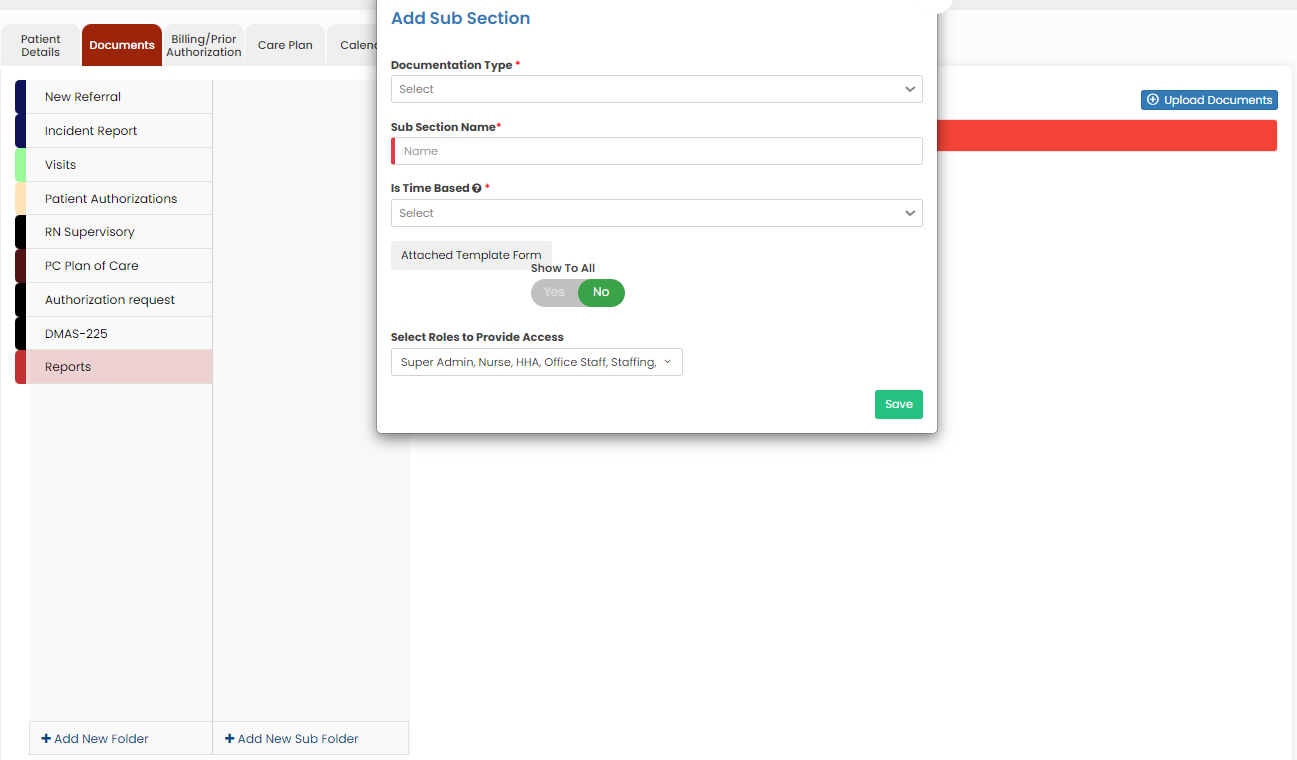
Click + Add New Folder option in Patient document. The following screen appears, update the required information. Also in the option Show to All, if the user needs the folder name to be added for all the patient click Yes option. If the user wants the folder to be added only for the particular patient click No option and click Save.
The folder Documents is added successfully to upload the required documents of the patient.
Adding New Sub Folder
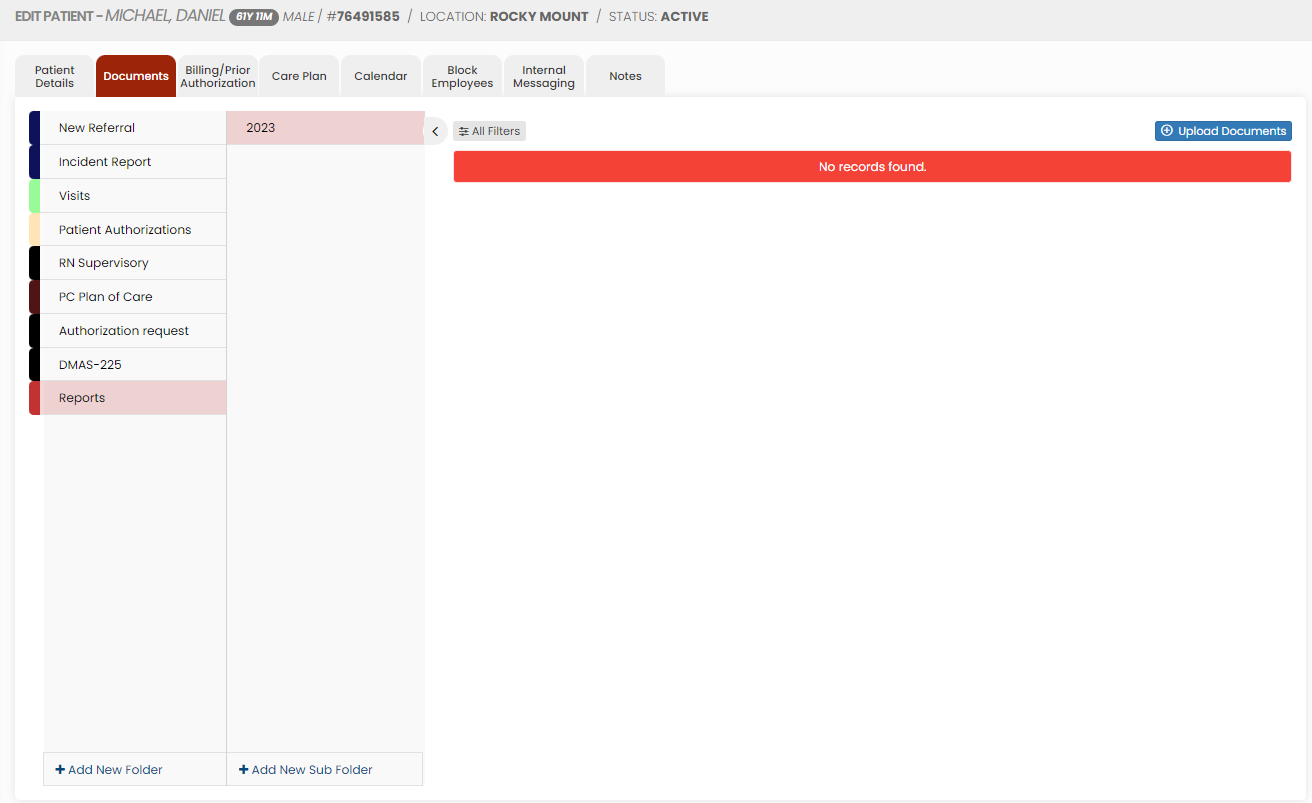
Select the folder name and click the option +Add New Sub Folder option. The following screen appears, update the required information. Also in the option Show to All, if the user needs the Sub folder name to be added for all the patient click Yes option. If the user wants the folder to be added only for the particular patient click No option and click Save.
The Sub folder 2023 is now added under folder name Reports to upload the required documents of the Patient.
Uploading Documents
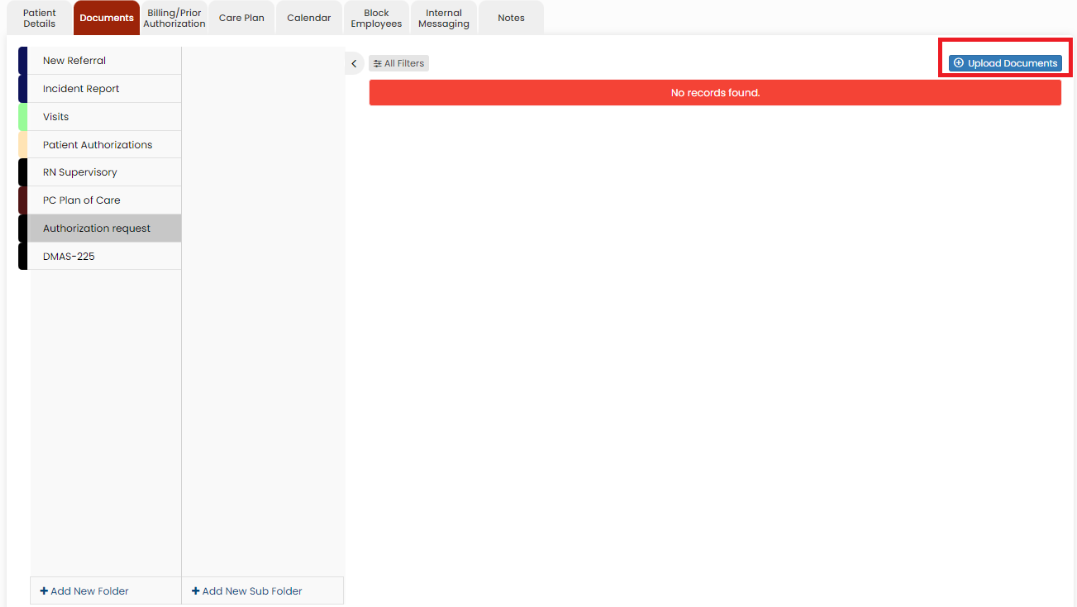
To upload the documents, select the folder name and click Upload documents.
When we click the option Upload Documents, the following screen appears,
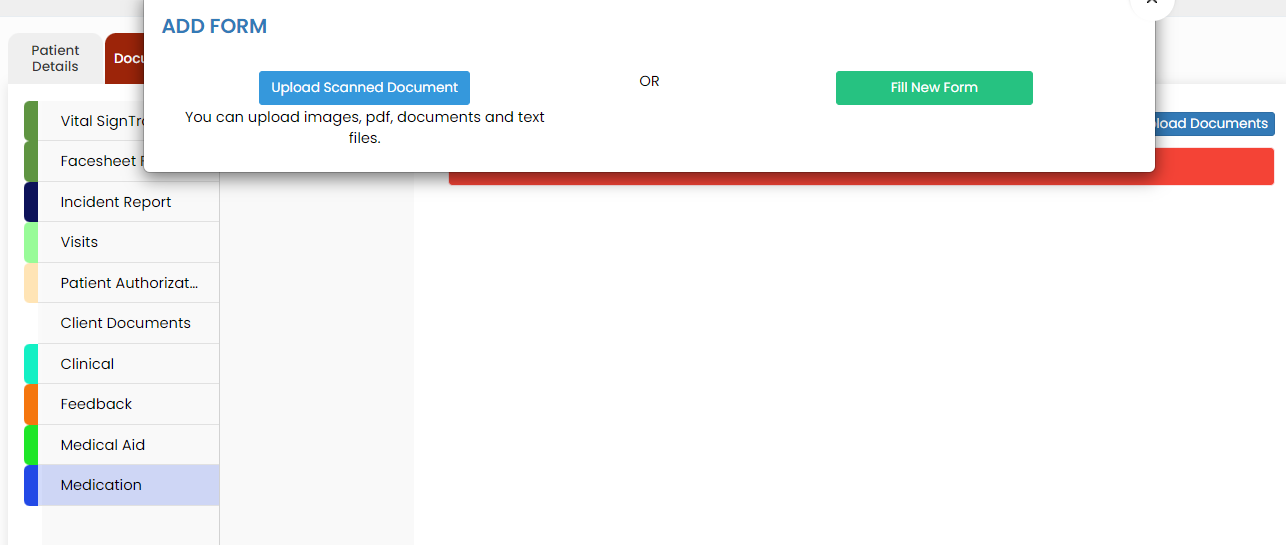
The Scanned documents can be uploaded using the option Upload Scanned Document. The Forms in the system can be uploaded using Fill New Form option.
Under Actions we have the following features for the uploaded document.
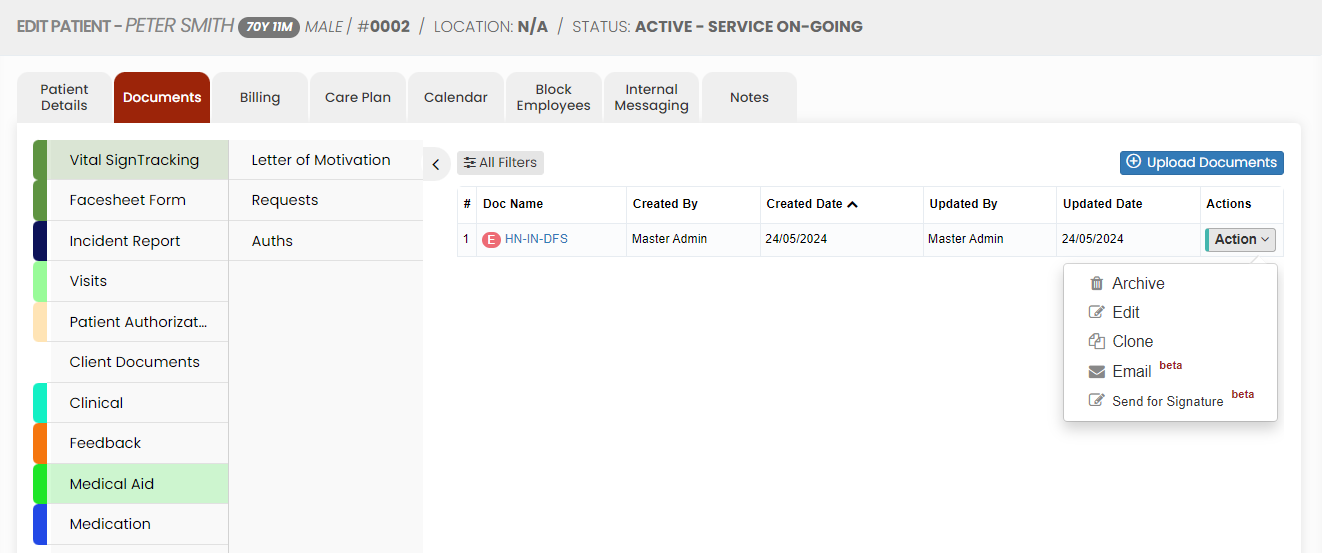
Archive option
Click the option Archive to delete the uploaded scanned document. The following pop-up appears. Click Yes Continue option.

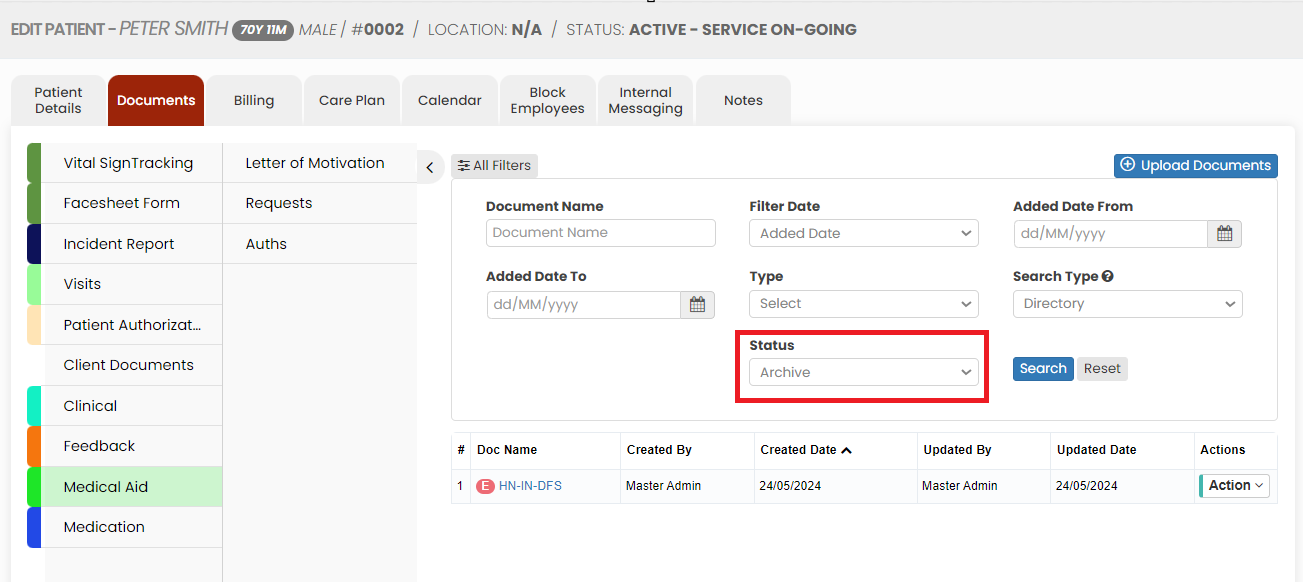
The document is now deleted from the Active documents list. To view the deleted document, Click All Filters option and select the Status Archive.
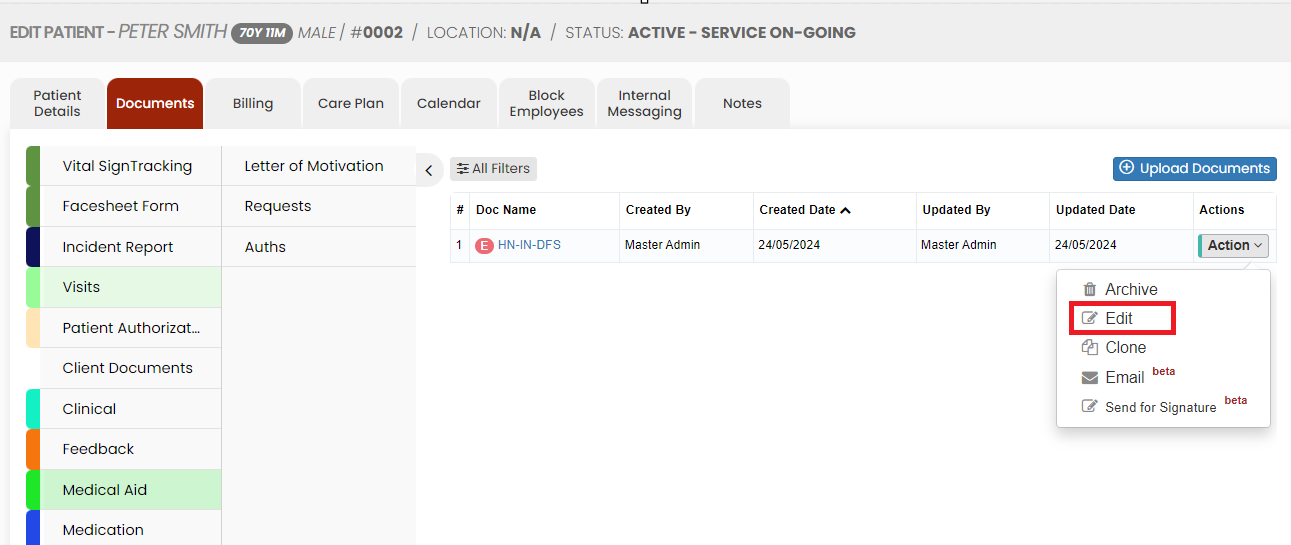
Edit Option
Click Edit option to edit the required information in the uploaded forms. Also we can edit the Document name of the uploaded scanned document using the Edit option.
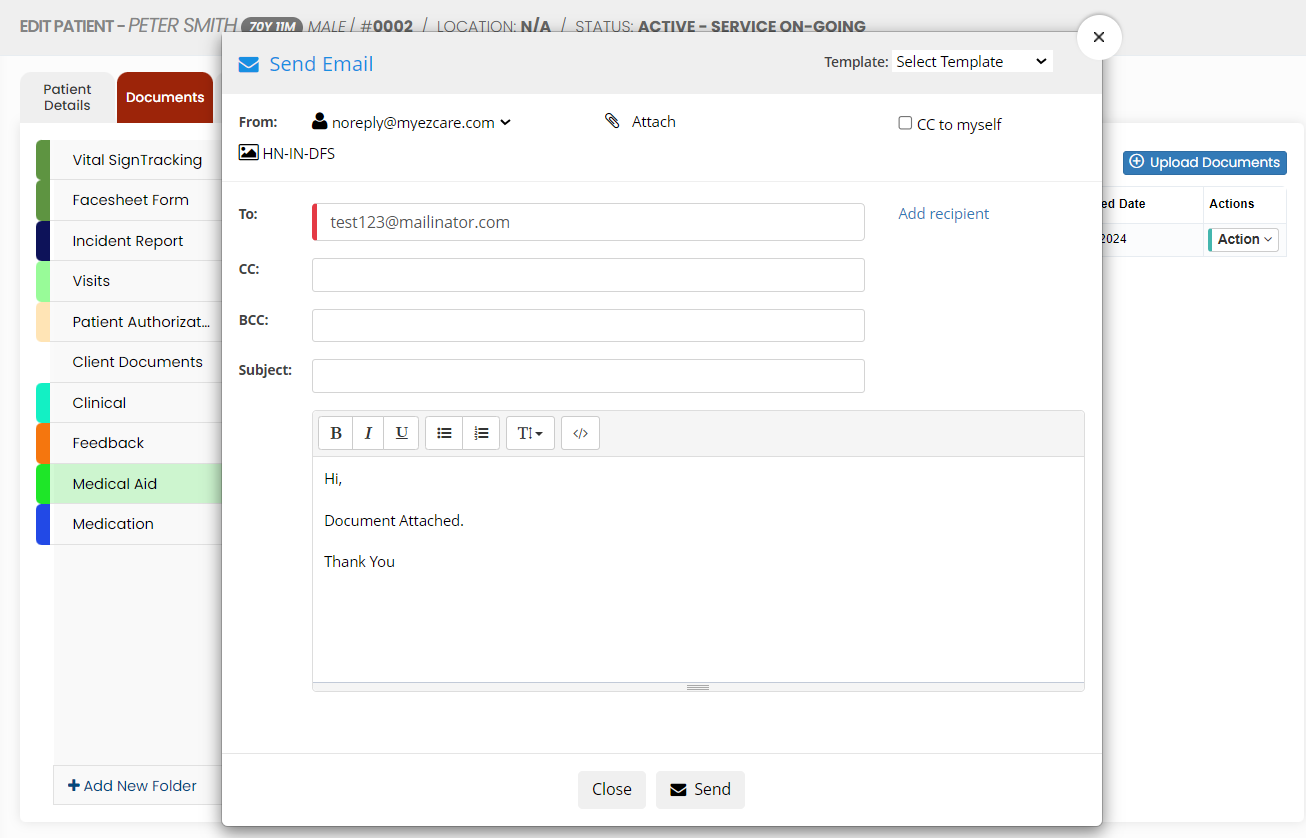
Email Option
The uploaded scanned document can be sent through Email using the Email option. Click Email option under Actions of the scanned document. The following screen appears, update the Email address, Subject and content of the Email and click Send option. The Email will be sent along with the scanned document.
We can also create templates for the Email under Settings >> Email Template option. The user can use the created email template by using the option Templates in the Email Screen.
Send for Signature option
The user can send the forms in the system to get the Electronic Signature from the Patient by using the option Send for Signature under Actions.
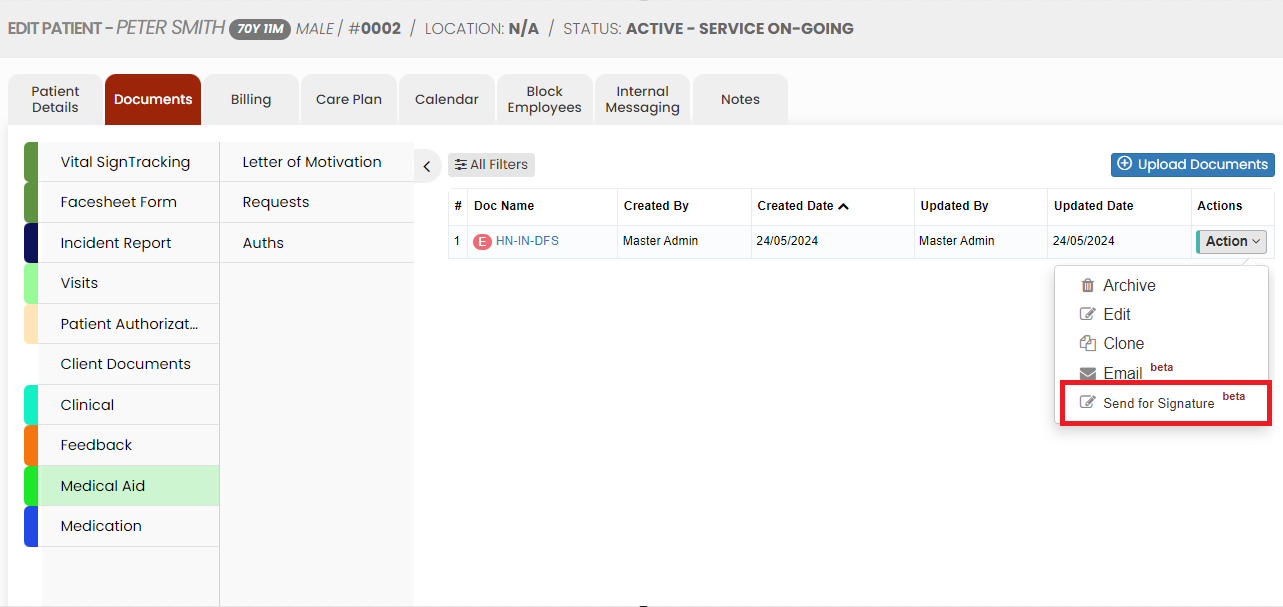
Click the option Send for Signature, the following screen appears, Update the required details and Click Send option.

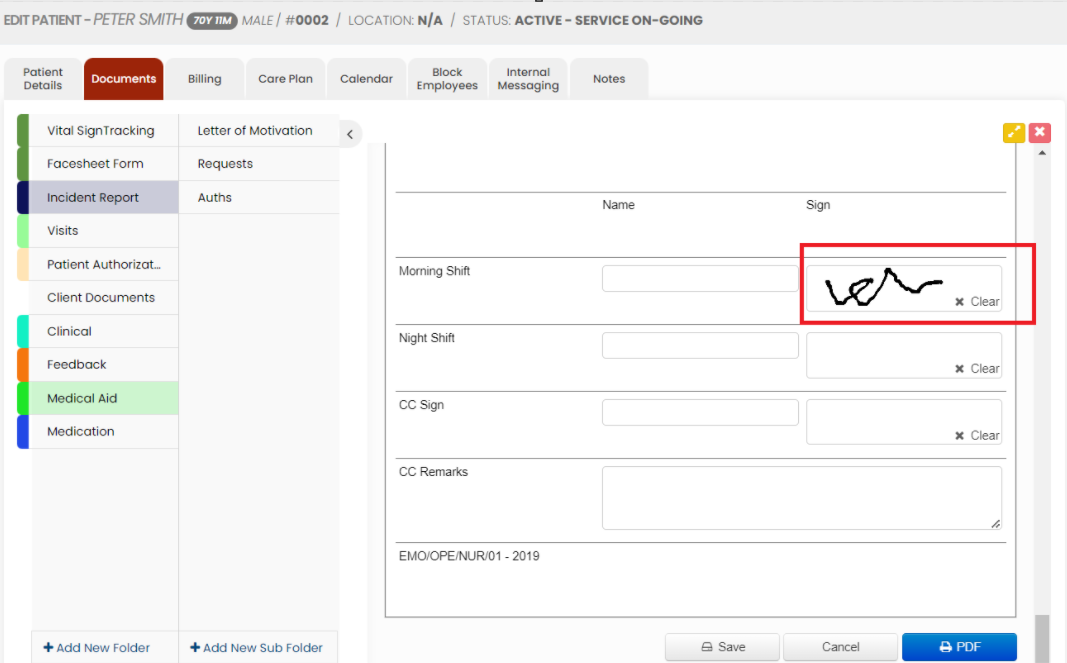
Now the email will be sent with the Document for signature. When the employee click on the Access Document, the following screen appears. On clicking the Send option, the patient will receive a 5 digit OTP for verification. Once the verification is completed, the Document automatically opens in which the patient can update their signature and save the document.

The Signature updated document will be visible under the folders.