Care Plan
Task Mapping
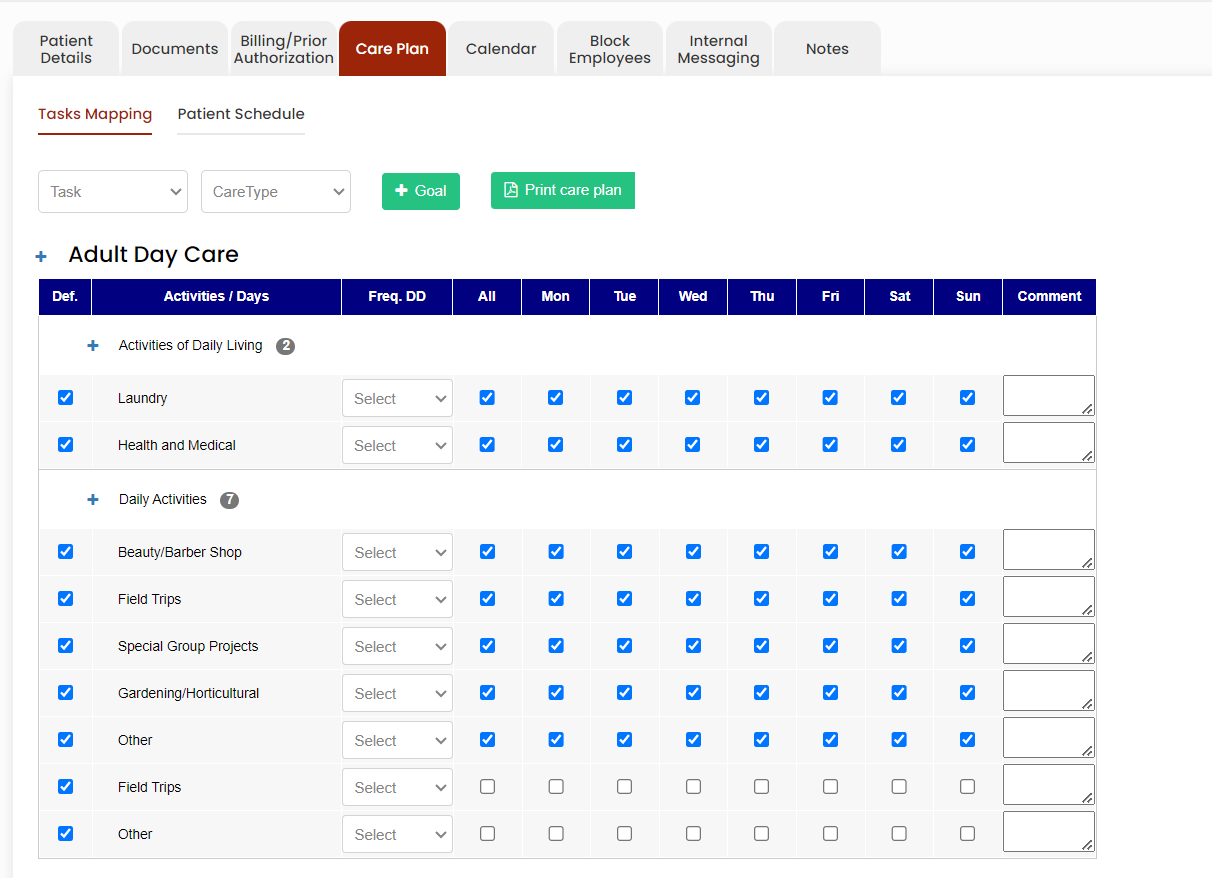
The visit task activities for care plan can be viewed in Task Mapping option.
Client >> List >> Select Patient from List >> Care Plan >> Task Mapping.
The user can select the Task Activities for the Care type as required for the days of the week.
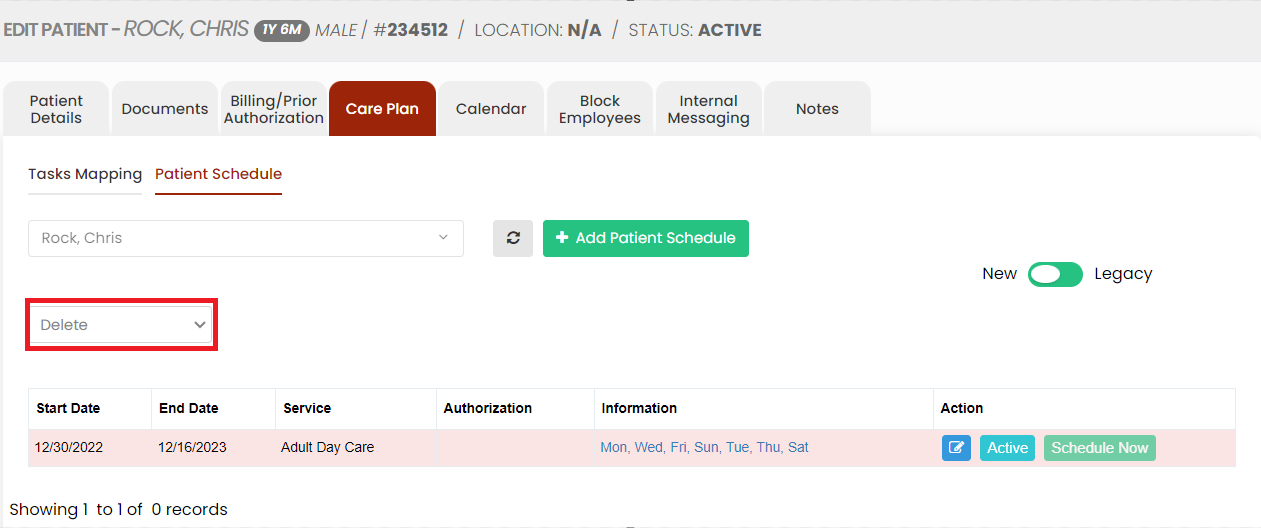
Patient Schedule
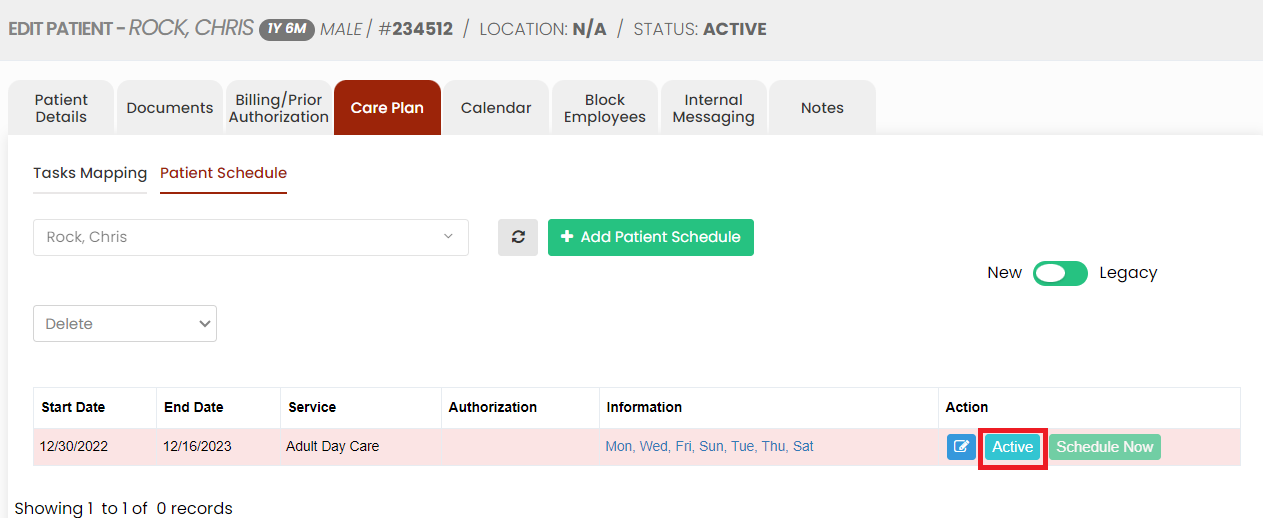
The patient schedule can be added in the system by using the option +Add Patient Schedule option. Click schedule option under client.
Client >> List >> Select Patient from List >> Care Plan >> Patient Schedule or Client >> Schedule
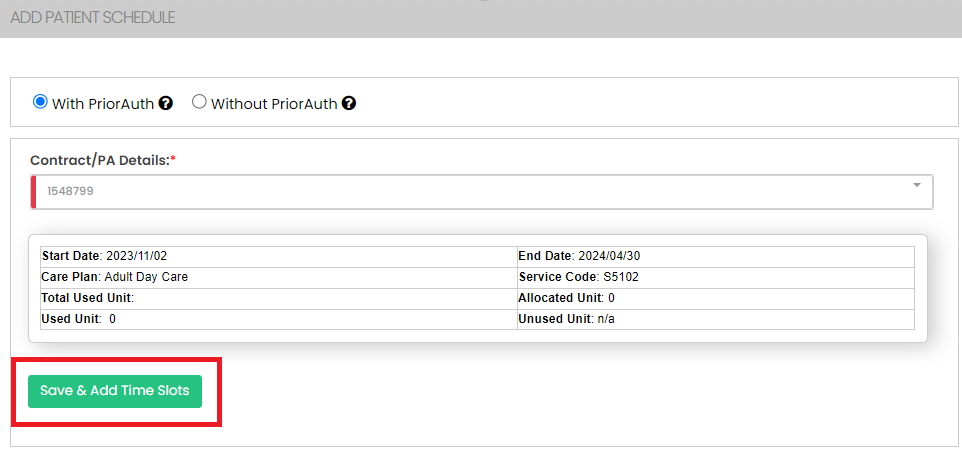
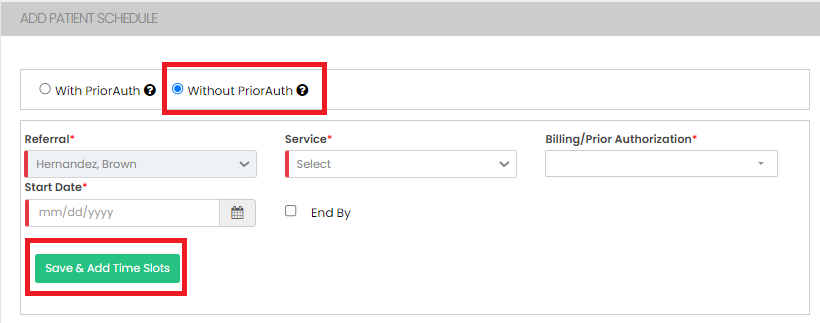
The patient schedule can be created in the system with Prior Authorization and also without Prior Authorization.
Now lets update the Patient schedule With Prior Authorization. Click on the dropdown option under Contract / PA Details. Select the Authorization details and Click Save & Add Time Slot option.

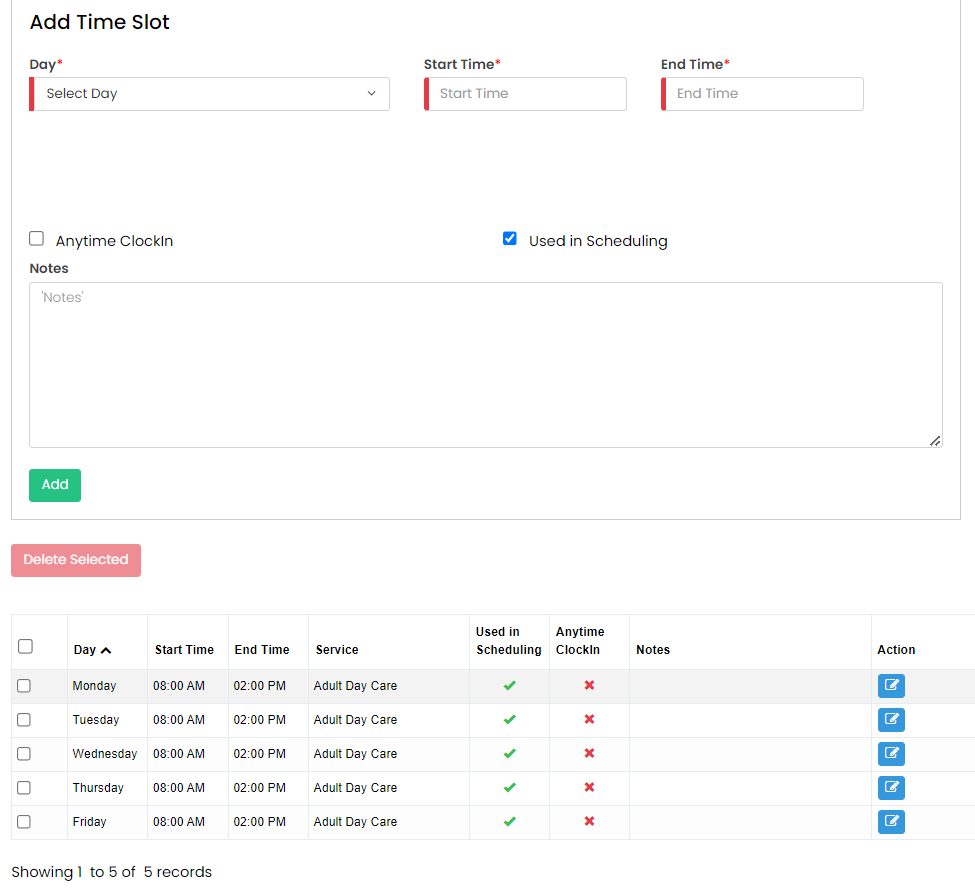
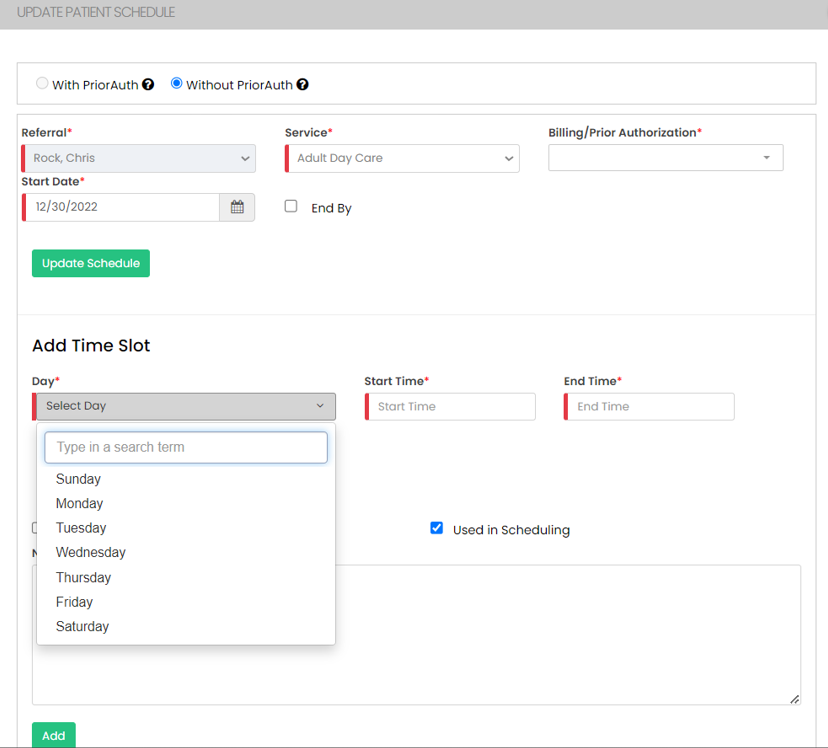
Select days under the Add Time Slot option, update the Start Time and End Time of the Schedule, Check the option Used in Scheduling and Click Add. Now the Time slot will be generated with Days, Time and Care Plan.
Select days under the Add Time Slot option, update the Start Time and End Time of the Schedule, Check the option Used in Scheduling and Click Add. Now the Time slot will be generated with Days, Time and Care Plan.
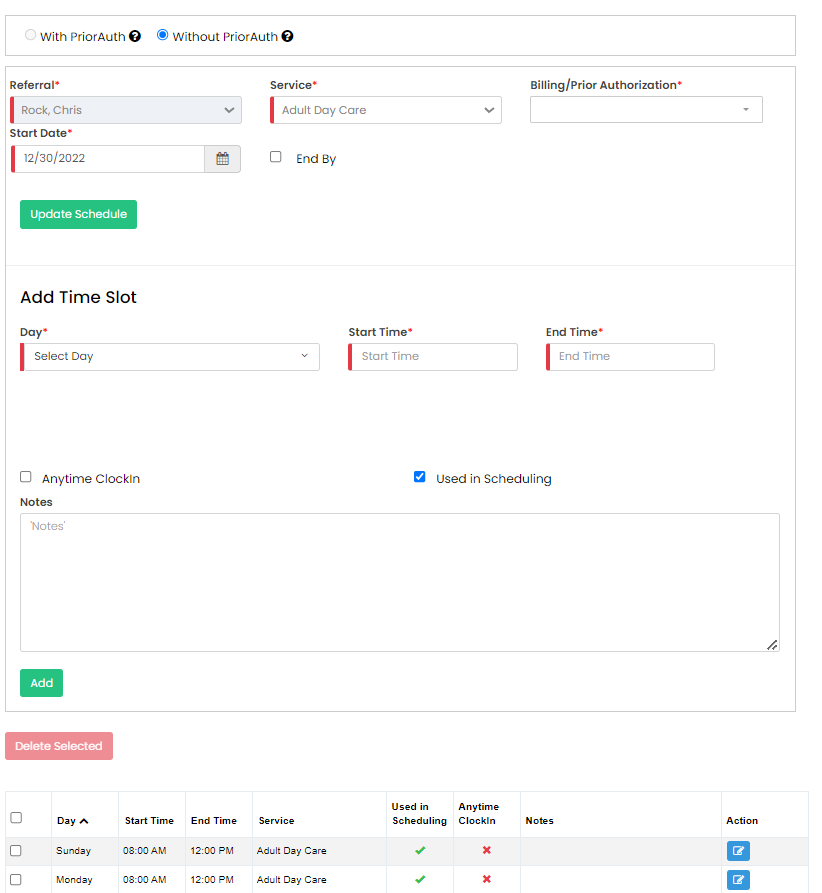
Now, the Time Slot for the patient is successfully added with the required Days and Time.
Scheduling Patient with Facility
After creating the Timeslot for the patient, the user has to schedule the patient with the Facility. Click Add Patient Schedule option.
Client >> List >> Select Patient from List >> Care Plan >> Patient Schedule
Select the Start Date and End Date and days of the schedule. Now select the Facility from the list to whom the patient has to be scheduled and click create schedule option.
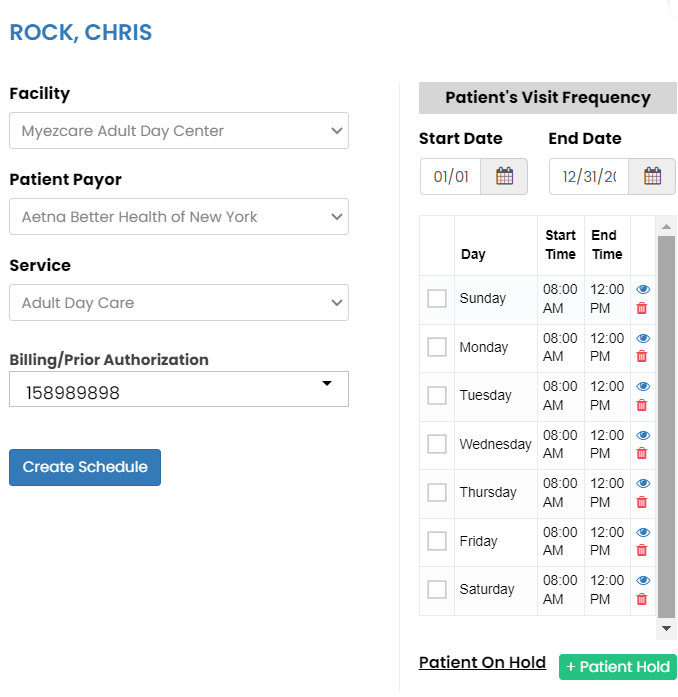
The patient has been successfully scheduled with the Facility and the Schedule has been created.
Reassign Facility for the patient
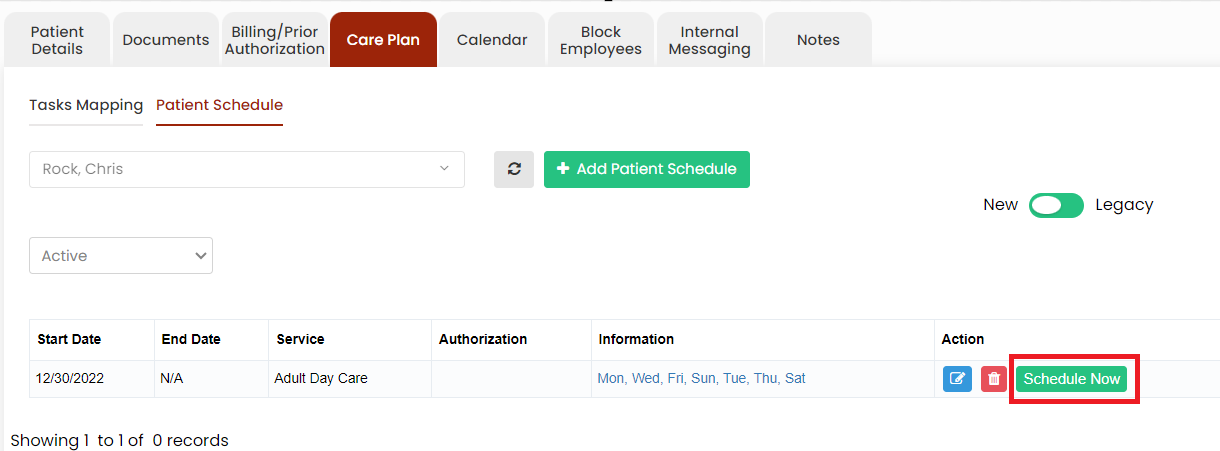
The Facility assigned for the patient can be reassigned with different facility in the system by using the Schedule Now option.
Client >> Schedule
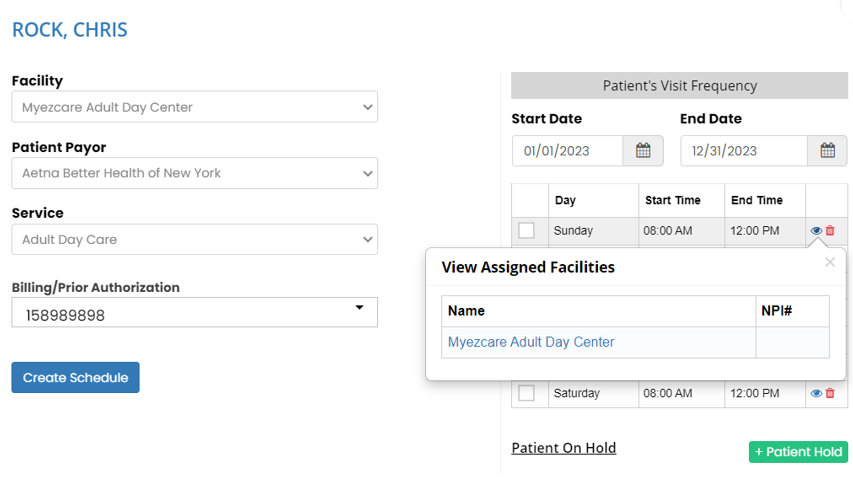
Select the patient from the list and click Schedule now option. When we click the day of the schedule, we can see the Facility name which has been assigned to the patient for the day.
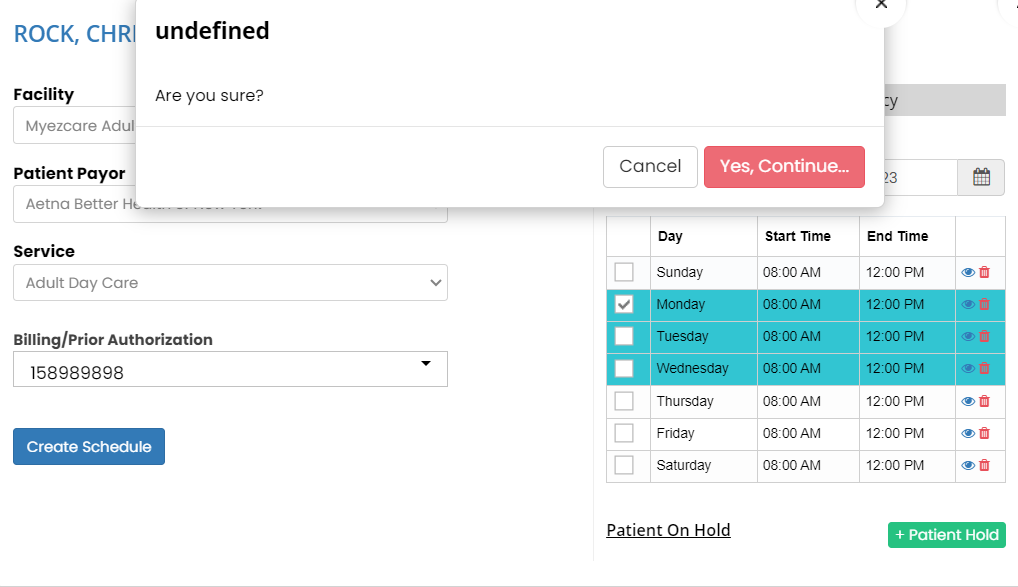
Now select the start date and end date of the schedule for which the Facility has to be reassigned. Also click the check box to select the day for reassigning the Facility and click unassign option on the right side of the day.
The below screen appears, click yes continue option. The Facility has been unassigned for the selected date range for that particular day.
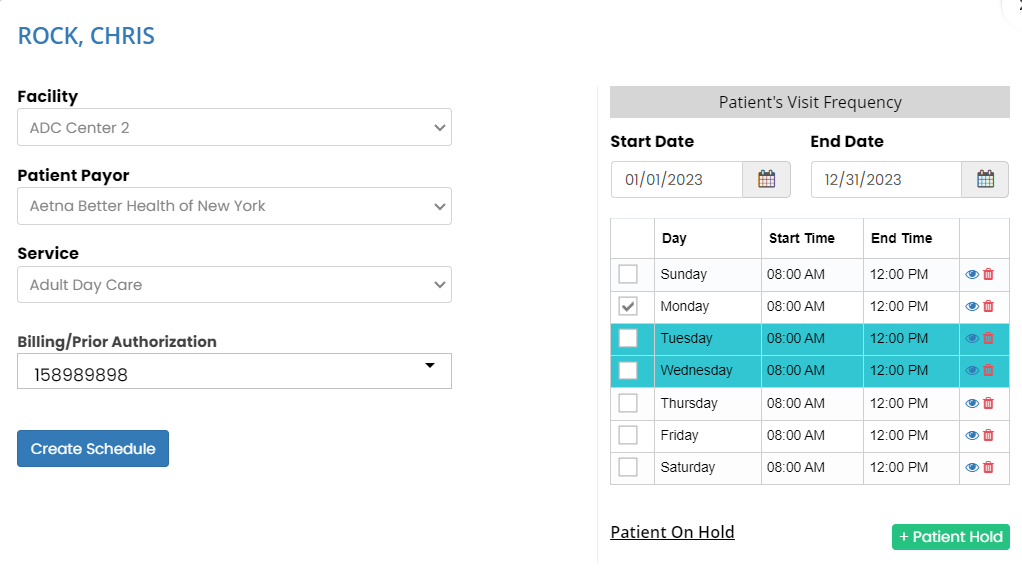
After the Facility has been unassigned, change the Facility and click create schedule.
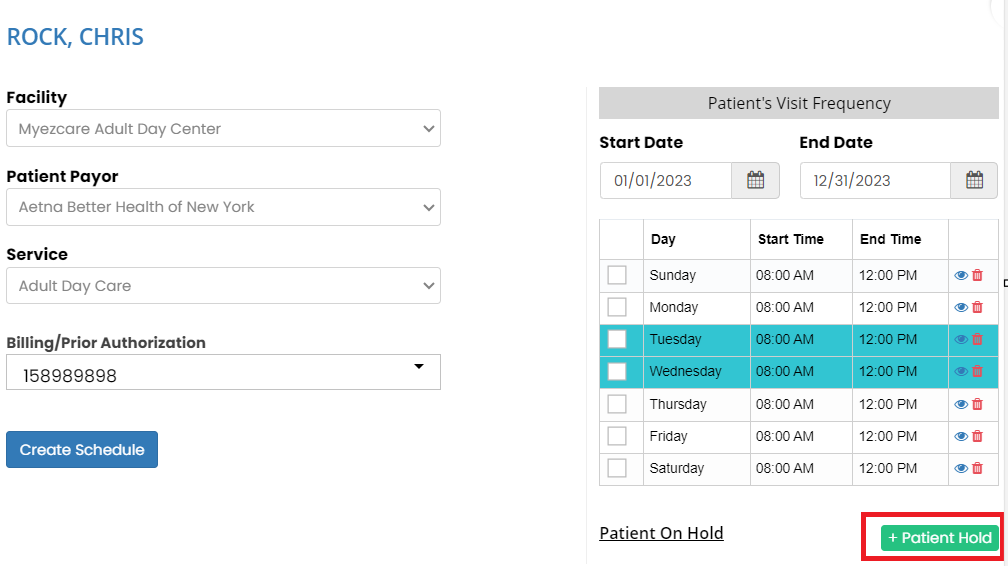
Patient on Hold
The user can keep the patient on hold for the day by using the option +Patient Hold.
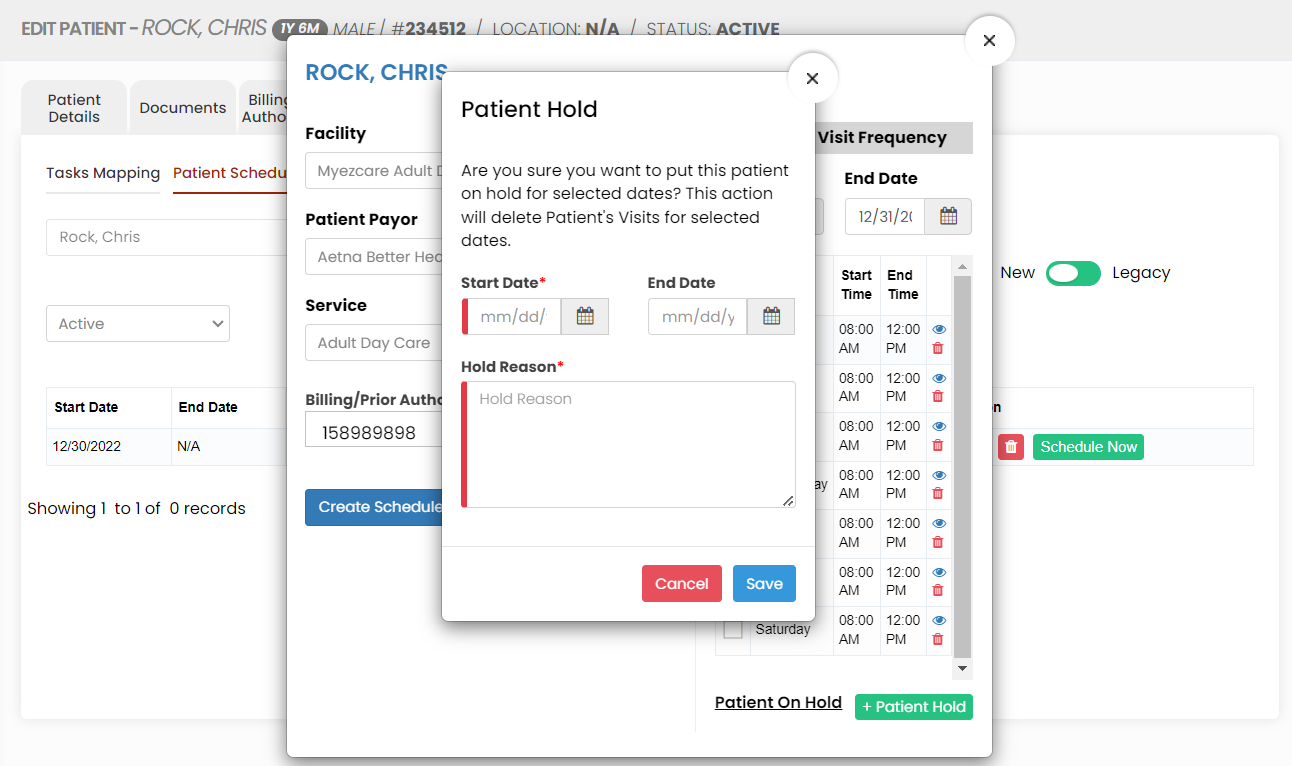
Now Click +Patient Hold option, the following screen appears, update the start date, end date, reason for hold and click Save option.
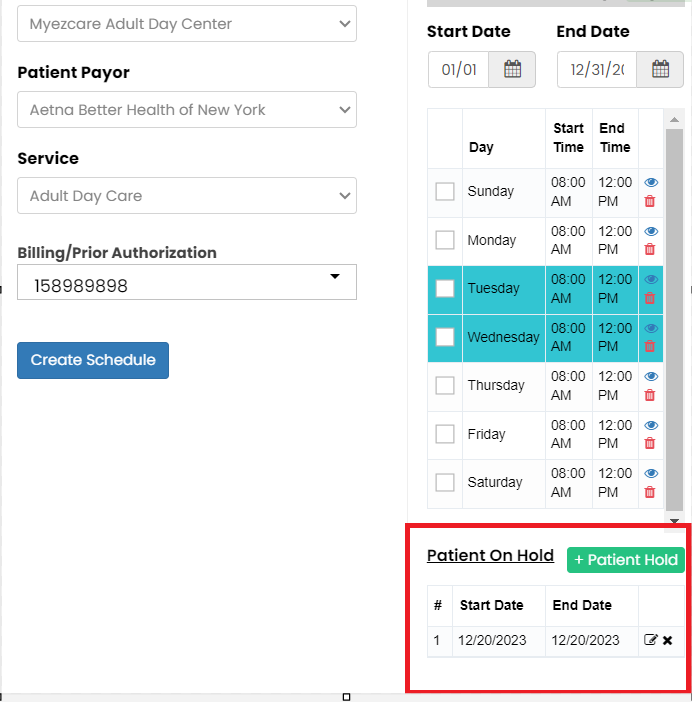
The user can see days on the screen for which the patient is on hold.
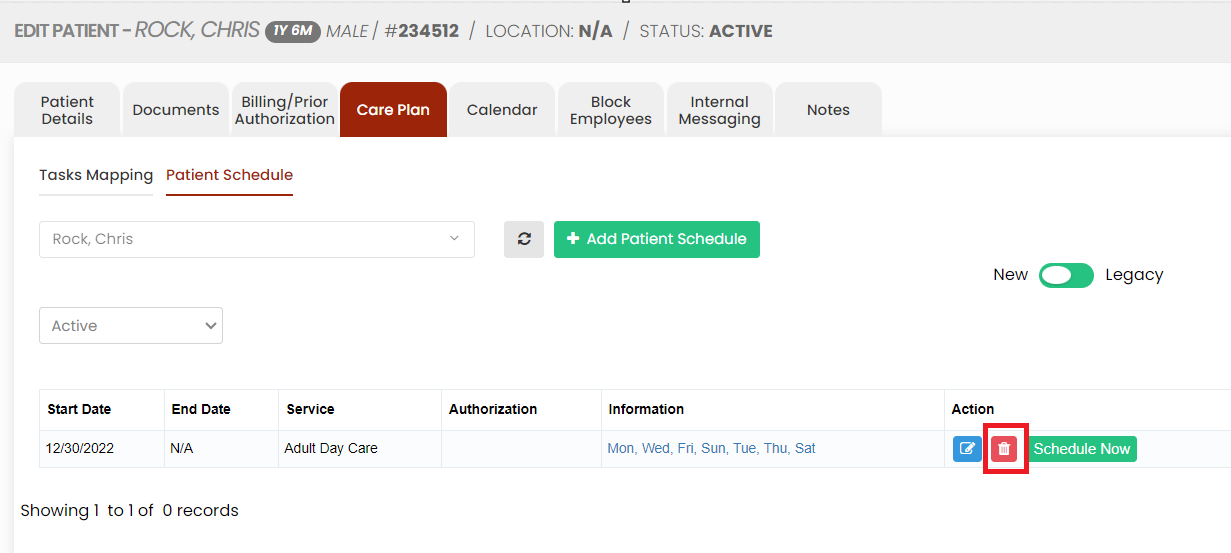
Delete Schedule
Client >> Schedule
Click the Delete button before Schedule Now option to Delete the schedules for the patient.
The Deleted schedules can be viewed under Deleted option on the screen.
The user can also Activate the Deleted schedules by using the option Active.